

I thought I would show you how to renovate one of these trunks as it is easy to do, they are extremely useful for the kids toys, linen, shoes, basically storing anything in, and you can choose whatever colours you fancy to decorate it with.
HEALTH & SAFETY:
We always have to do this bit. You will be using scalpels so please be careful as they are sharp. You would also recommend using spray paints which you will need to wear and mask and goggles when using. The adhesives I use are PVA so make sure you read the health and safety guidelines on the packet and do not ingest.
YOU WILL NEED:
- Scalpel
- Paint
- Brushes
- Paper
- Sandpaper
- Masking tape
- Newspaper
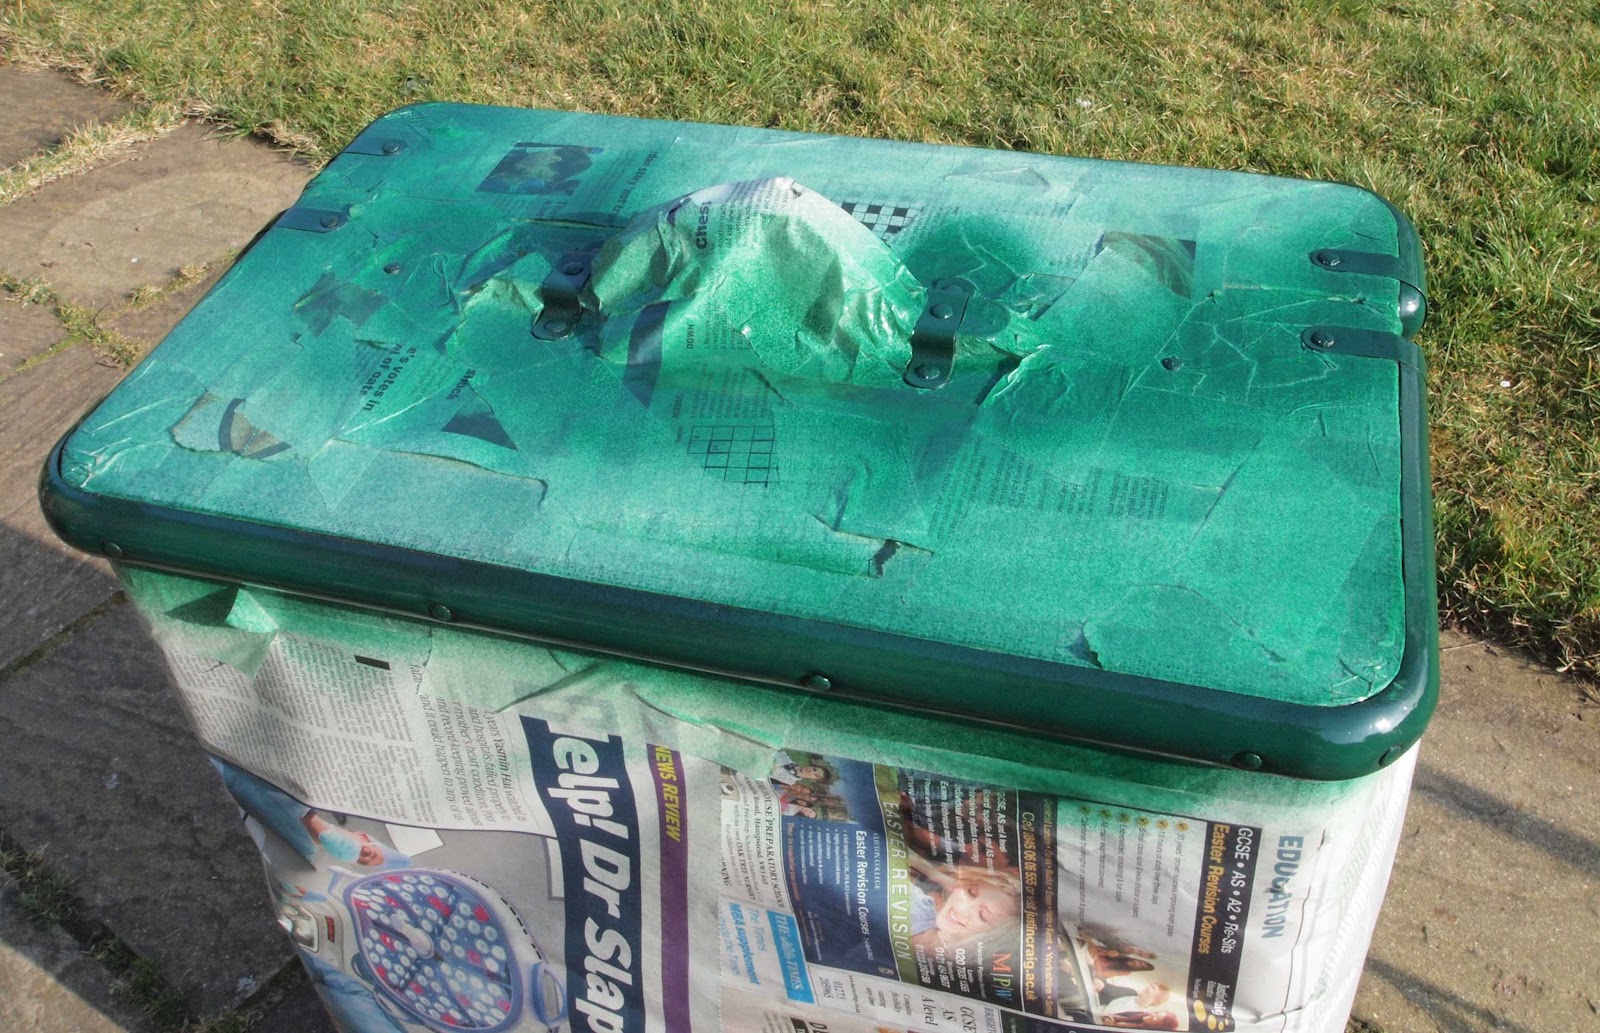
1. I decided to paint the metal parts of the trunk a gloss racing green, so the first thing I did was tape off around the edges of the metal details using masking tape. I even taped around the small metal studs so that these could be painted as well. The rest of the surface I covered in newspaper and taped this down.

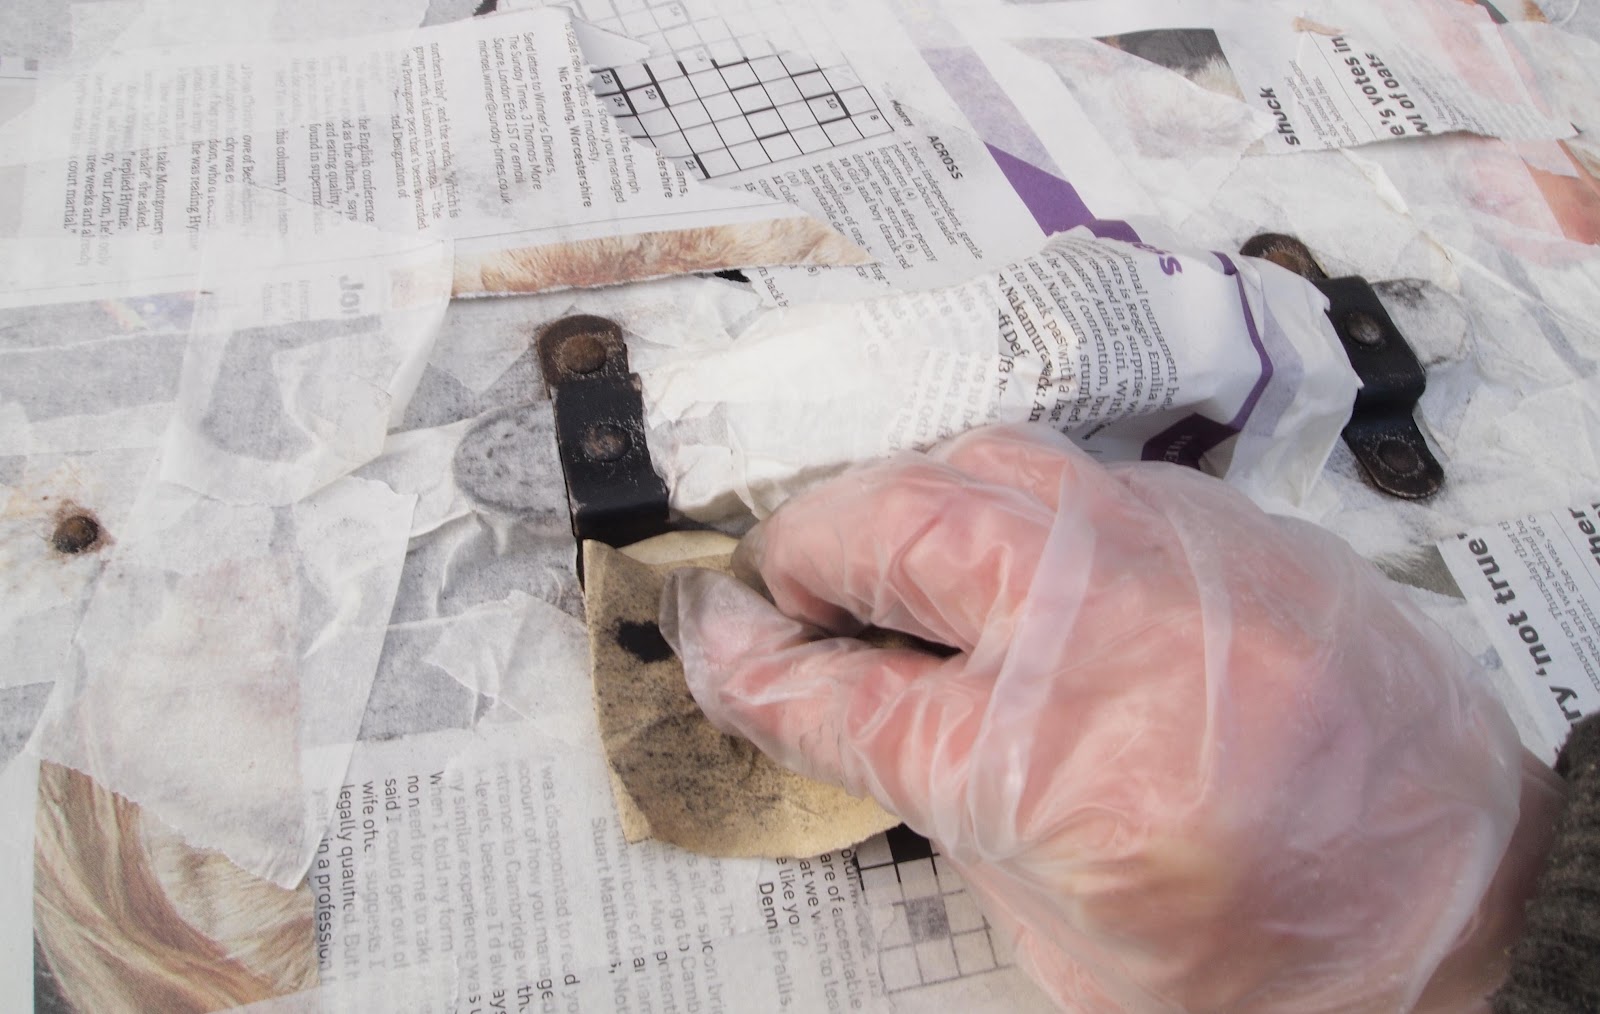
2. So that the paint sticks to the metal surface properly you need to sand down the surface. Just do this using sandpaper and then wipe the surface clear of dust afterwards. You don't need to remove all of the old paint just make the surface rough so that the new paint has something to grip to.
3. I find the best way to paint metal is using a can of spray paint. You can find lots of different colours of spray paints in D.I.Y. shops that are suitable for metal surfaces. The key is to spray several light layers, allowing each layer to dry in between, so that you get a smooth even finish. Don't spray right up close to the surface as this is when the paint pools and drips. Allow the paint to dry thoroughly (maybe over night) before peeling off the paper and masking tape.
4. I then decided that I quite liked the black and green contrasting with each other, but the black painted surface was a bit scruffy looking. I decided to give the surface another coat of black but I chose to use black-board paint. Rather than taping off around the metal features again I just painted straight on to the black surface. I had a bowl of hot, soapy water and an old damp rag close by and wiped off any black paint that went on the green metal fixings before it had chance to dry. I also made sure that edges of the inside were painted black. This will give a nice neat edge when I line the inside. Allow the paint to dry.

5. I then decided to line the inside of the trunk with brown paper. I glued the paper down using PVA cutting out sections from the paper to line the sides and fiddly areas. You could use a really fun patterned wrapping paper or check out your local craft shops.

6. I decided to then decorate the inside using round sponge stamps. I started by using a green paint, which really brought out the green metal fixings, and then progressed to different size dots (throwing in a few black dots for fun).

7. In order to support the lid I added a strip of hessian weaved cord to the inside and secured with metal studs. This means the lid won't fall backwards when opened.

8. Your trunk is now finished and ready for it contents!


You can often come across trunks like this that are constructed from wood or thick card and covered in canvas. Some of them end up in a pretty bad state due to being heavily used. Next time you see one pick it up and give it some love. You can end up with something that looks rather stunning and contemporary.
xx
No comments:
Post a Comment